Updating 3D Printer Firmware for PT1000 Temperature Sensors

Setup Manual: Updating Firmware for Compatibility with the PT1000 Heating Kit
Introduction
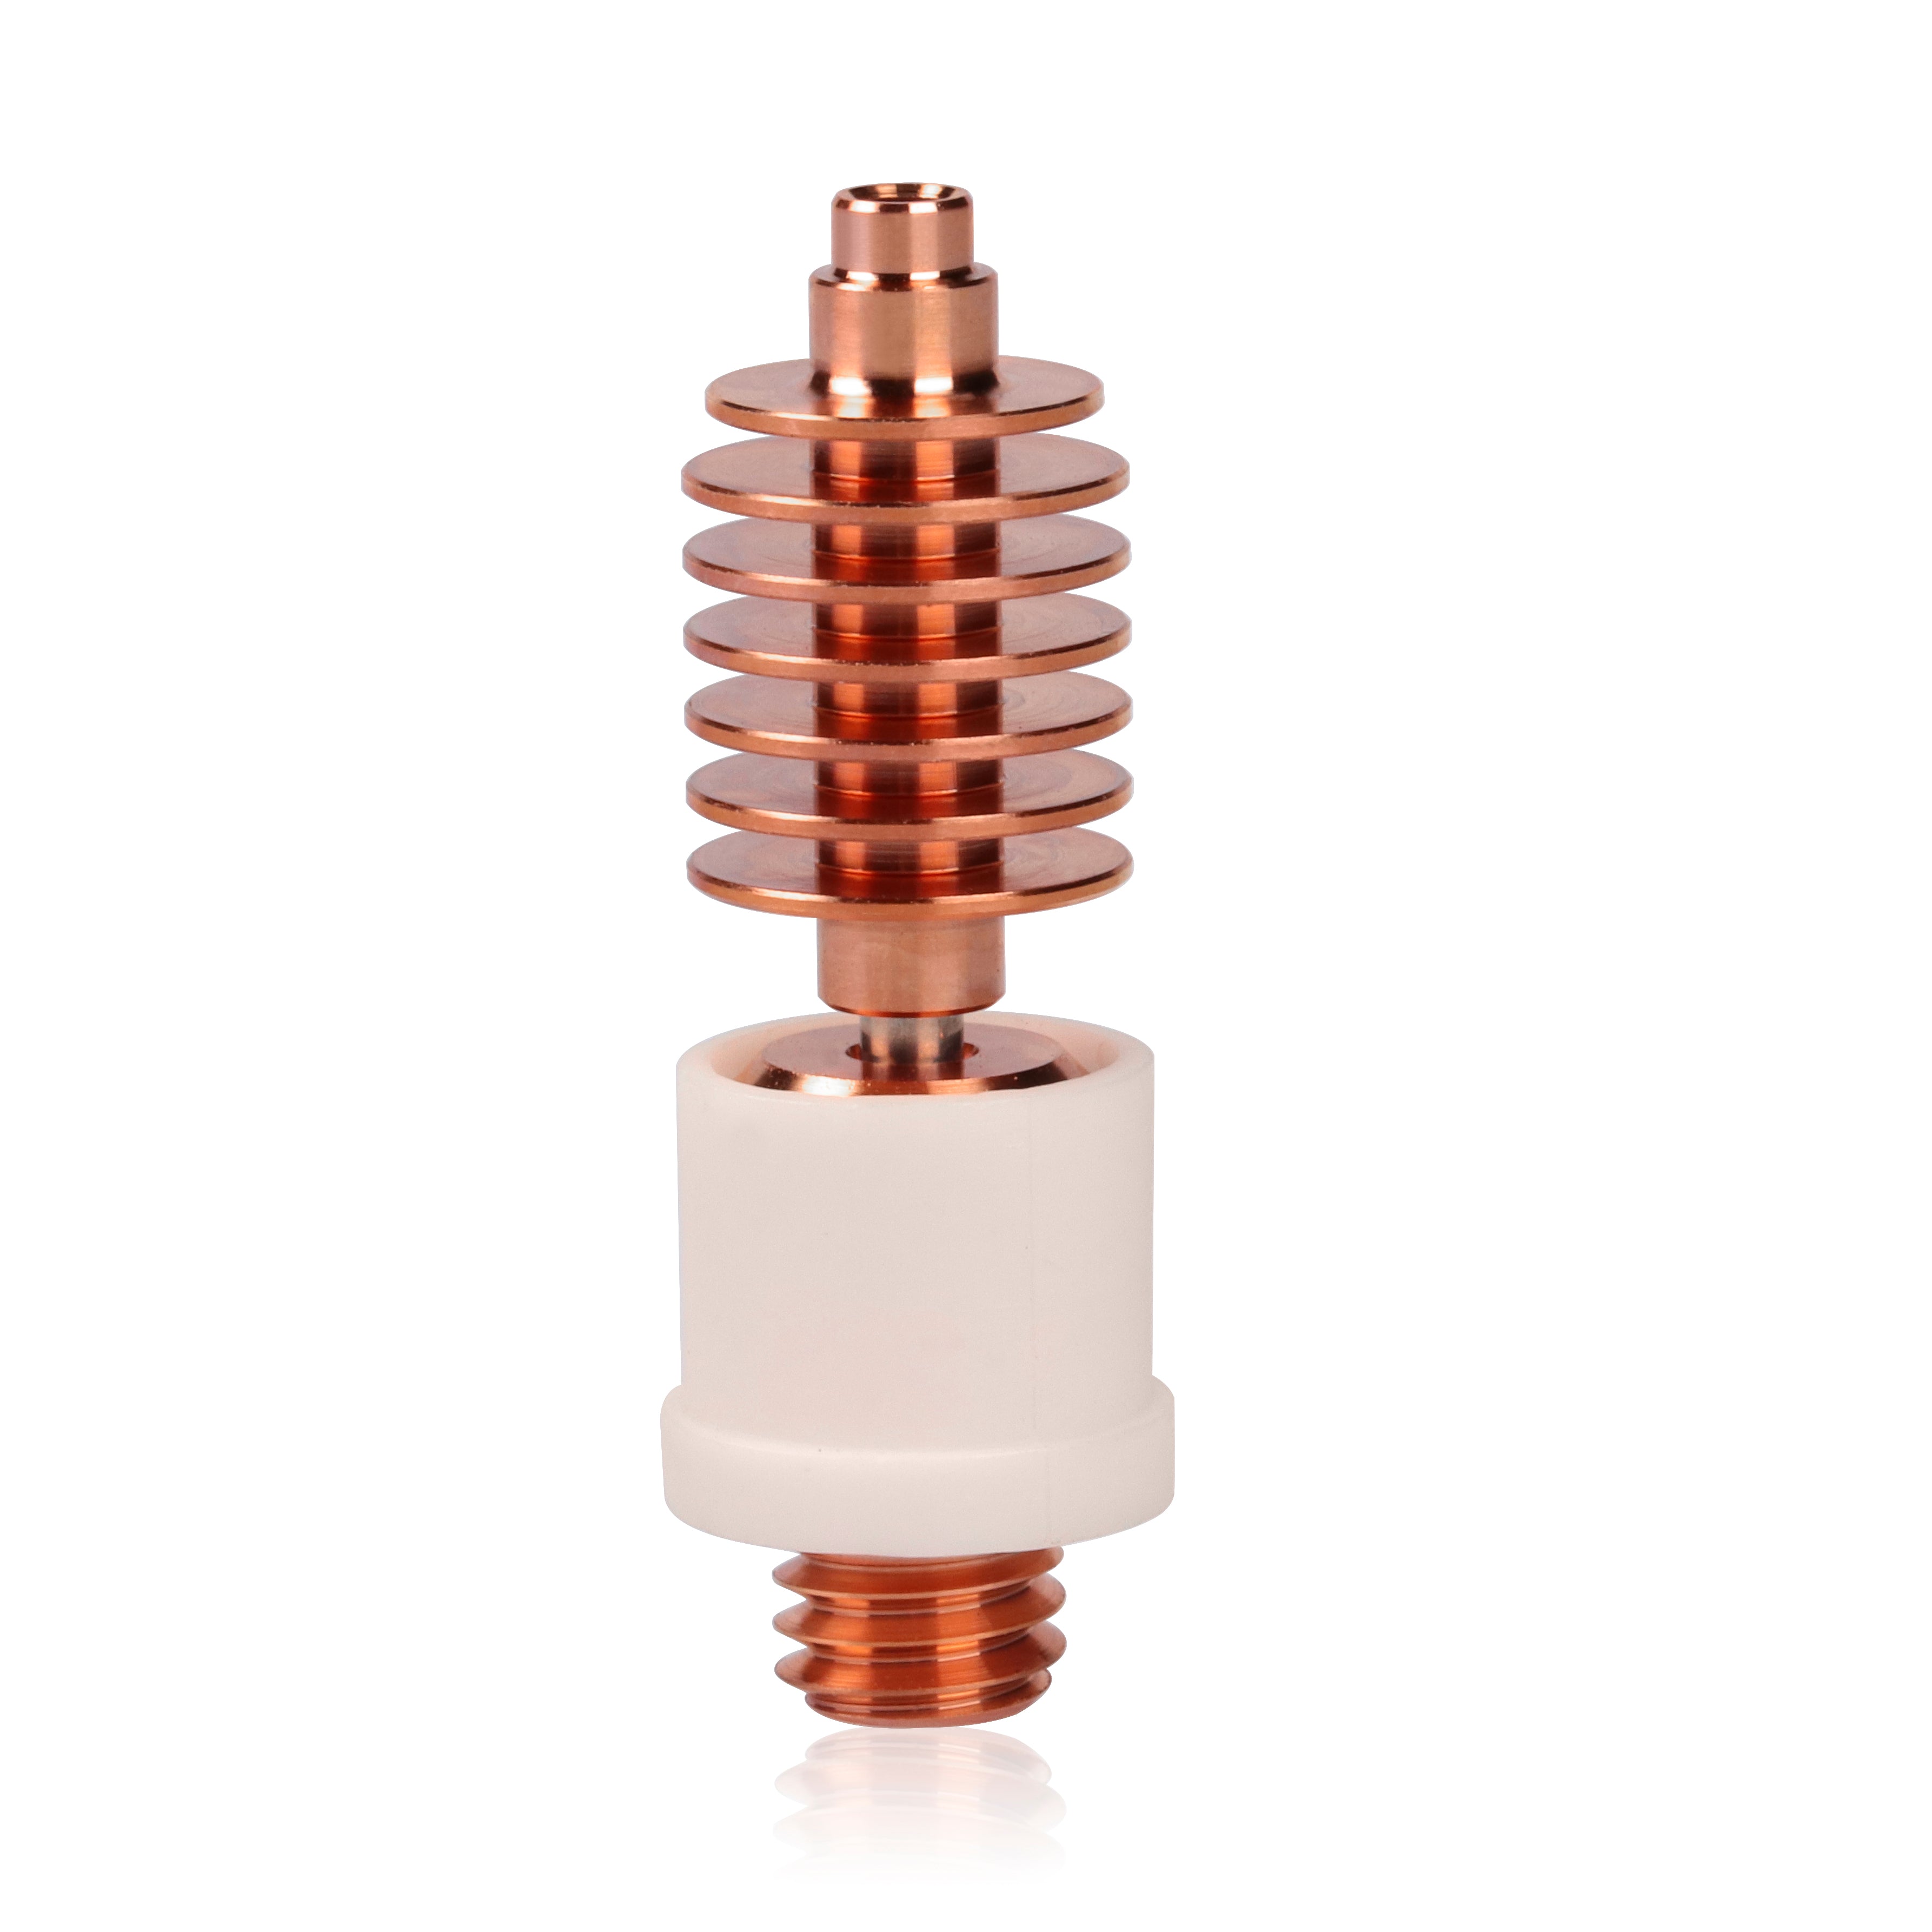
This guide will help you update your firmware to be compatible with the PT1000 heating kit for your Rapido hotend. The PT1000 sensor is known for its high accuracy and ability to measure temperatures up to 500°C, making it ideal for high-temperature 3D printing applications. This sensor works natively with Marlin, Duet/RepRapFirmware (RRF), and Klipper.
Marlin Firmware
Step 1: Choose the Correct Temperature Sensor
When compiling Marlin, choose temperature sensor #1047 if you are not using a MAX31865 amplifier. This is necessary to ensure the firmware correctly interprets the PT1000 sensor signals.
Step 2: Adjust Maximum Temperature Value
If you plan to print above 300°C, you will need to raise the maximum temperature value. For Marlin versions 2.0.5.4 and older, update the thermistor table for thermistor 1047 to include values up to 500°C. Below is an example configuration:
Example Configuration
// Define the temperature sensor
#define TEMP_SENSOR_0 1047

// Update the thermistor table if printing above 300°C
#define MAX_TEMP 500
Duet/RepRapFirmware (RRF)
Step 1: Edit Configuration File
For RRF, you must edit the config.g file.
RRF 2.x or Earlier
Use the M305 command. It should look something like this:
M305 P1 X501
RRF 3.x
Use the M308 command. It should look something like this:
M308 S1 P"temp1" Y"PT1000"
Note: The P field should be the name of the socket that the temperature sensor is plugged into. The R field value varies based on the Duet board. Refer to your Duet board documentation for the correct value.
Klipper Firmware
Step 1: Configure Sensor in printer.cfg
If directly connecting the RTD Pt1000 without an amplifier, use the following parameter:
[temperature_sensor hotend]
sensor_type: PT1000
Note: Klipper defaults to a 4.7 kilo ohm pull-up resistor. Refer to Klipper3d.org for detailed documentation.
Additional Configuration Tips
Testing Temperature Sensors
To ensure the temperature sensors are working correctly, perform the following checks:
- Apply 5V power to the Duet board via USB and connect to the web interface.
- Verify that the temperature readings on the Dashboard -> Printer Status -> Tools section are close to room temperature and fluctuate by no more than 0.2°C.
- If the temperature readings are extremely high or low (e.g., -273°C or +2000°C), check the sensor connections and configuration.
When Heating
After verifying the sensors at room temperature, turn on the heaters and check that the temperature readings increase appropriately. If the readings do not increase, turn off the controller and check the wiring and configuration.
Additional Resources
For further assistance, please contact our customer support team.

